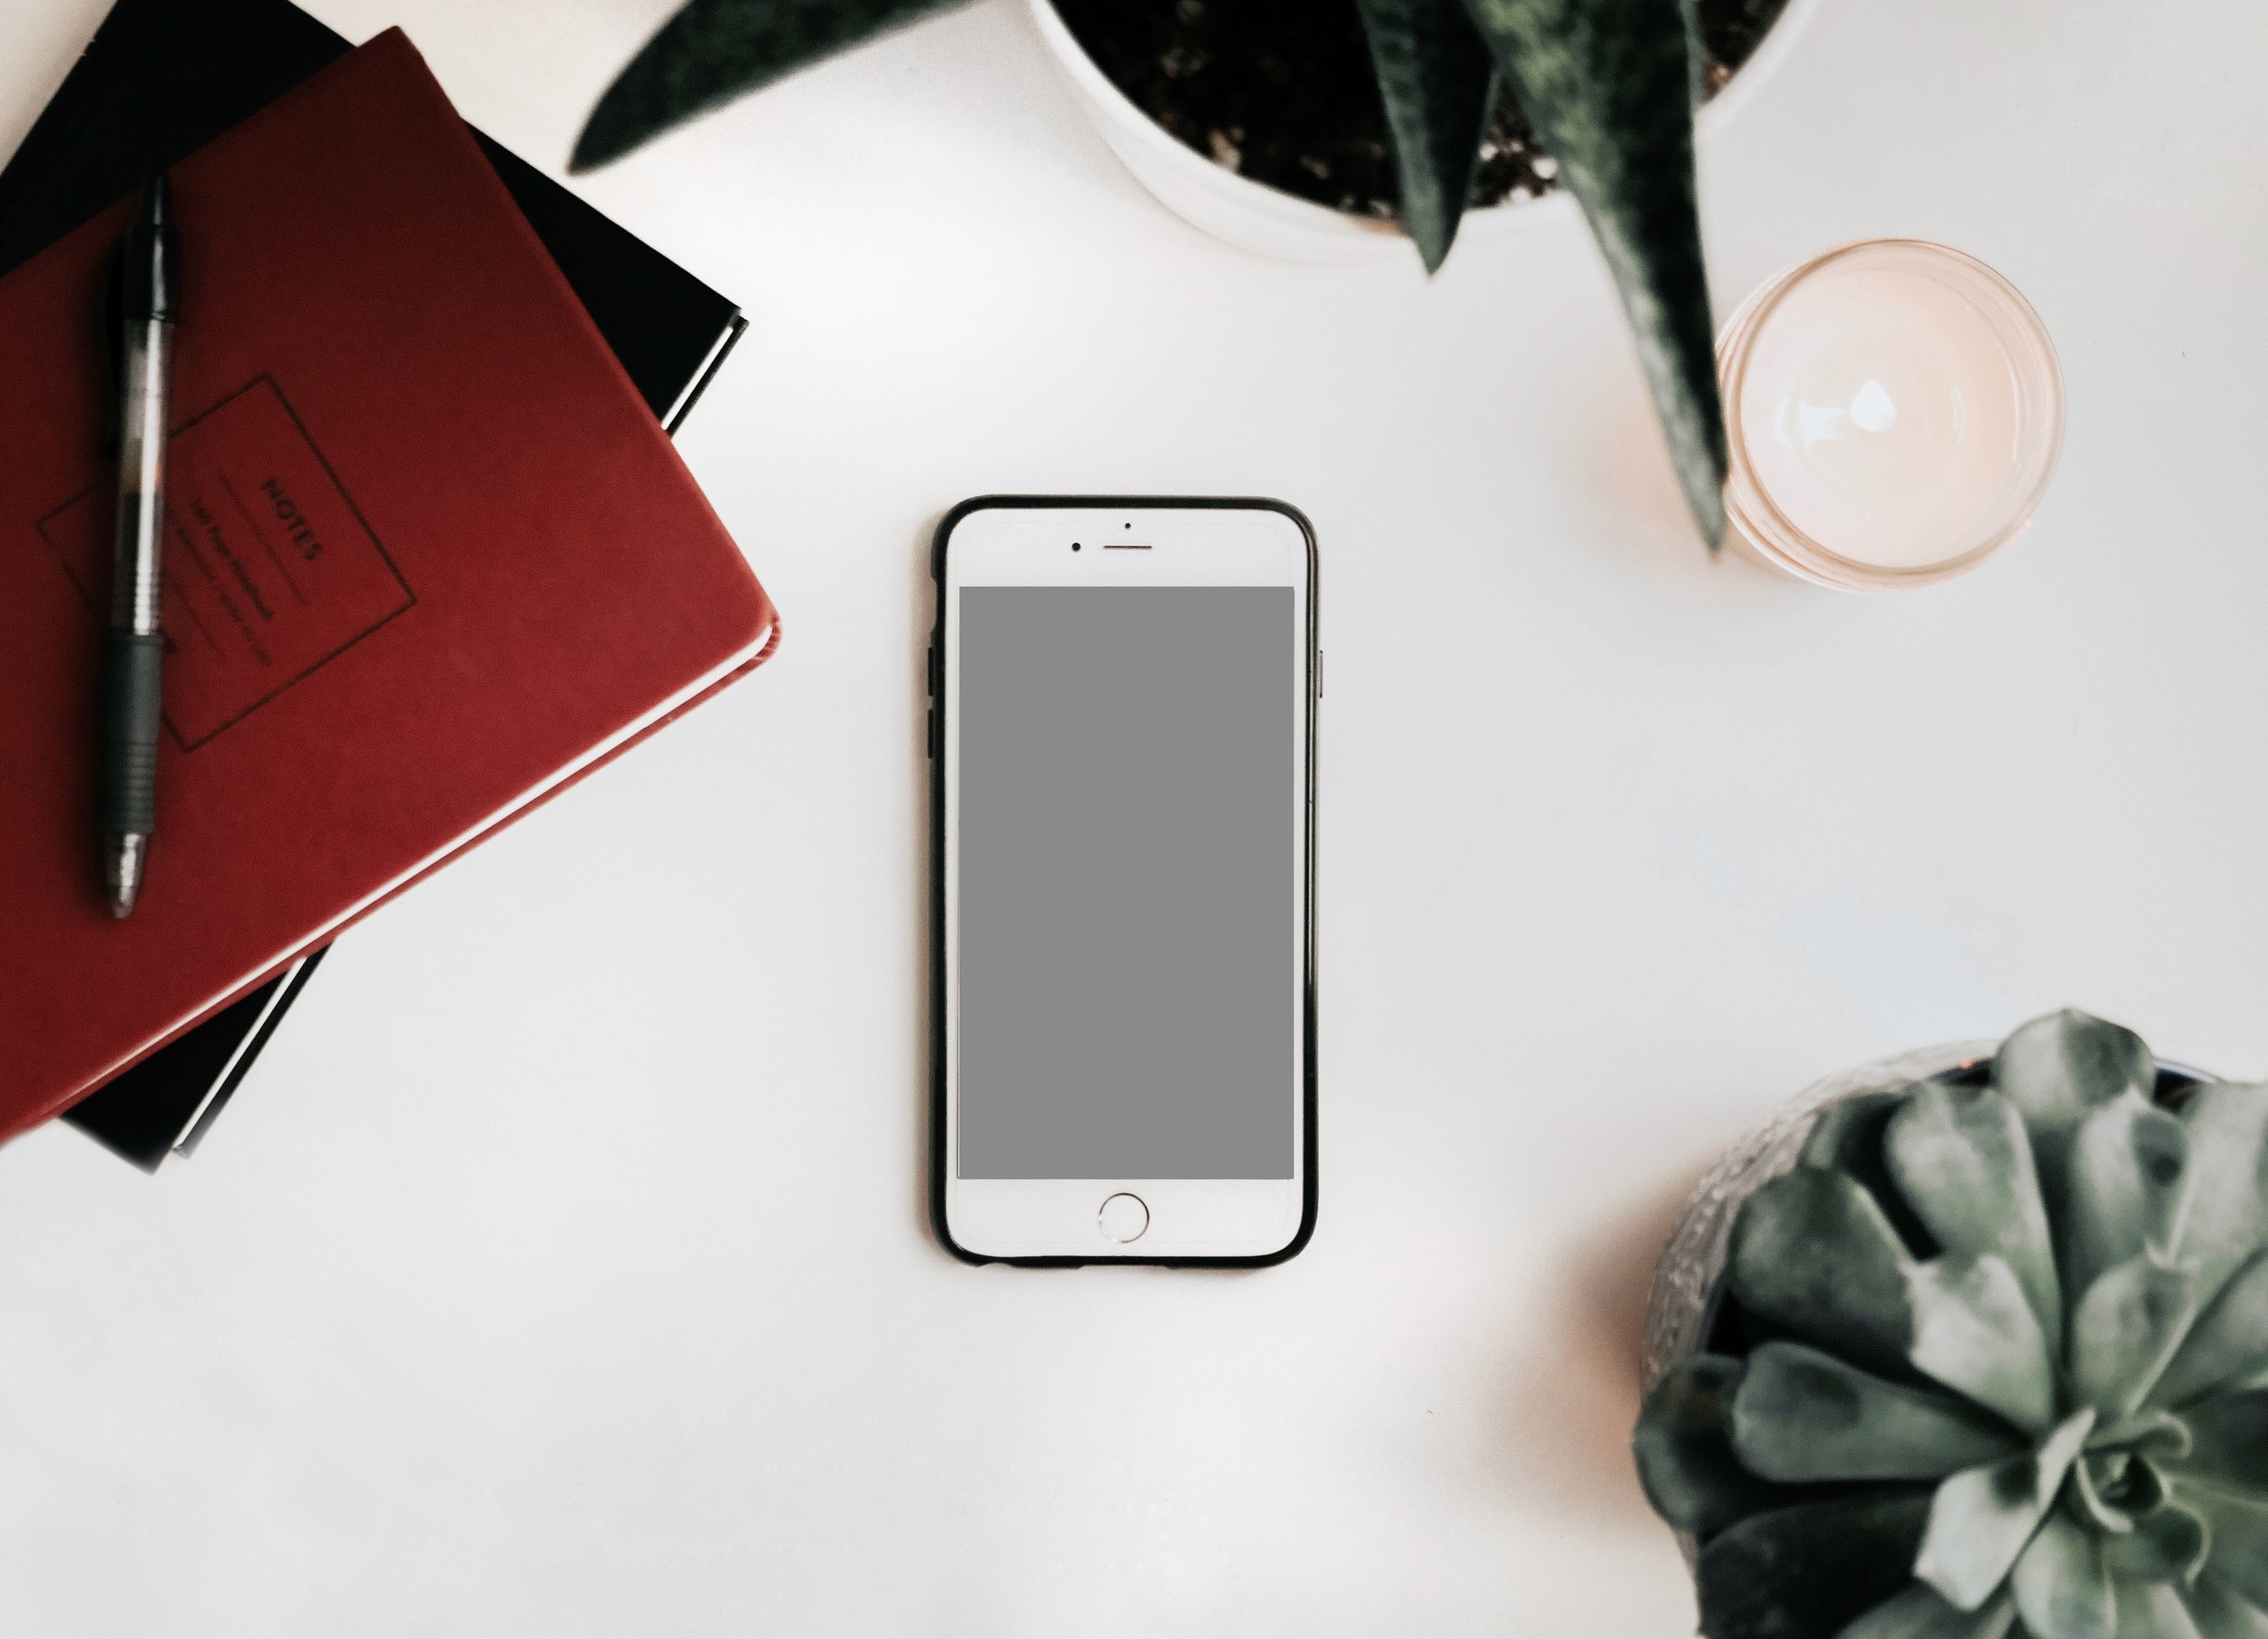
Editing iPhone Pictures Using Afterlight

I love my iPhone. And I love the convenience of taking pictures on it while I'm on the go and out and about without bringing my big ole camera with me. You've seen the camera. In case you forgot, here it is in all its glory:
Anyway. I can't exactly take that into the grocery store every time we go (holding both of the big girls' hands and wearing the baby with a purse and a big DSLR is not my kind of idea of a productive grocery trip). So, iPhone photography it is. It allows me to get shots of fun outings, like this day:
Or when we went looking for eggs at my brother's house and the girls had a blast cracking eggs on their cousins' heads to see all the confetti inside:
These moments are priceless, and I am so glad to be able to capture them on my phone because I always have my phone. Remember, that time I confessed to you that social media is ruining my motherhood? Okay, but let's not talk about that right now. This is just me using my phone for editing photos.
My favorite photo editing app on my iPhone? Afterlight. I'm slightly obsessed. It's amazing. I learned about it from Grace over at Camp Patton on her post about editing iPhone pics. I have loved it ever since then.
I was in love with VSCOcam for a long time, but I can pretty much do everything and more with Afterlight's app.
So, here is my step-by-step of editing iPhone pictures using Afterlight (which is extremely user-friendly):
- I upload the picture from my camera roll.
- I do Clarity right away, and I usually leave it at 50% which is the default.
- I then use Brightness to brighten the photos. This brightness feature is the best I've seen on any app. It's amazing. And I love it. Every time, use it, abuse it, it's amazing.
- I'll go over and add a filter. The "Guest" filters are my favorites. Like Camp Patton, I love Russ or even the new Bright Fire is pretty dang cool.
- My favorite feature of Afterlight is the Dusty and Light Leak textures. They're so.freaking.cool. Light leaks are my favorite. I'll click on those, and then you have 30 options (30!!) for where you want to add some lighting texture on the photo. You can then change where you want the lighting to sit, you can add different colors to the lighting, and you can even fade it a little bit so it's not as strong of a texture. It's rad. And sold me.
- You can also make the photo into a square for Instagram, or you can crop it however you need or want.
- I click "done," and it gives me an array of options to do with my photo.
The one downfall to Afterlight? It doesn't save my photos like VSCO does. I have my entire library in VSCO sitting there, but in Afterlight, I HAVE to save my image to my camera roll or it will be gone and I will cry a bajillion tears ever.
So, that's my scoop. Here are a couple more before/afters:
What's your favorite photo editing tool?
In between tweeting, reading books to my daughters, and [not] burning mac n cheese, I am the Founder + Creative Director of Blessed is She women's ministry + community.


